
The first loaves I made where a honey-wheat sandwich bread. Will eats toast for breakfast every morning, and he prefers whatever kind of simple plain bread he can get so that he can cover it with butter and honey. I love good bread, and I think he ruins it that way, so I'm more than happy to buy him the cheap stuff for that purpose. In this case, it actually sounded easier to me to make bread from scratch than go to the store! That's how desperate I was to turn on the oven.
I used Nick Malgieri's recipe from his book How to Bake, and it really did come together easily. For all the baking I do, and fussing around I'll spend on frosting and cake decorating, and cutting out individual cookie shapes, I often find yeast-breads to be "too time consuming" so it was fun to feel that this was something I could produce on a more regular basis. Plus, one recipe makes two loaves, so you can either bake them together and freeze one, or even better, freeze the dough and bake it up fresh in a few days when the first loaf is gone.
The other thing about bread baking - that makes it less gratifying for me - is the waiting for it to rise. That is ultimately why I tested multiple recipes at once... before I could even bake one, because of the wait to rise, I had another batch already mixing, and rising while the first one went into the oven. I admit, there was ample gratification to have three kinds of fresh bread after a morning in the kitchen.
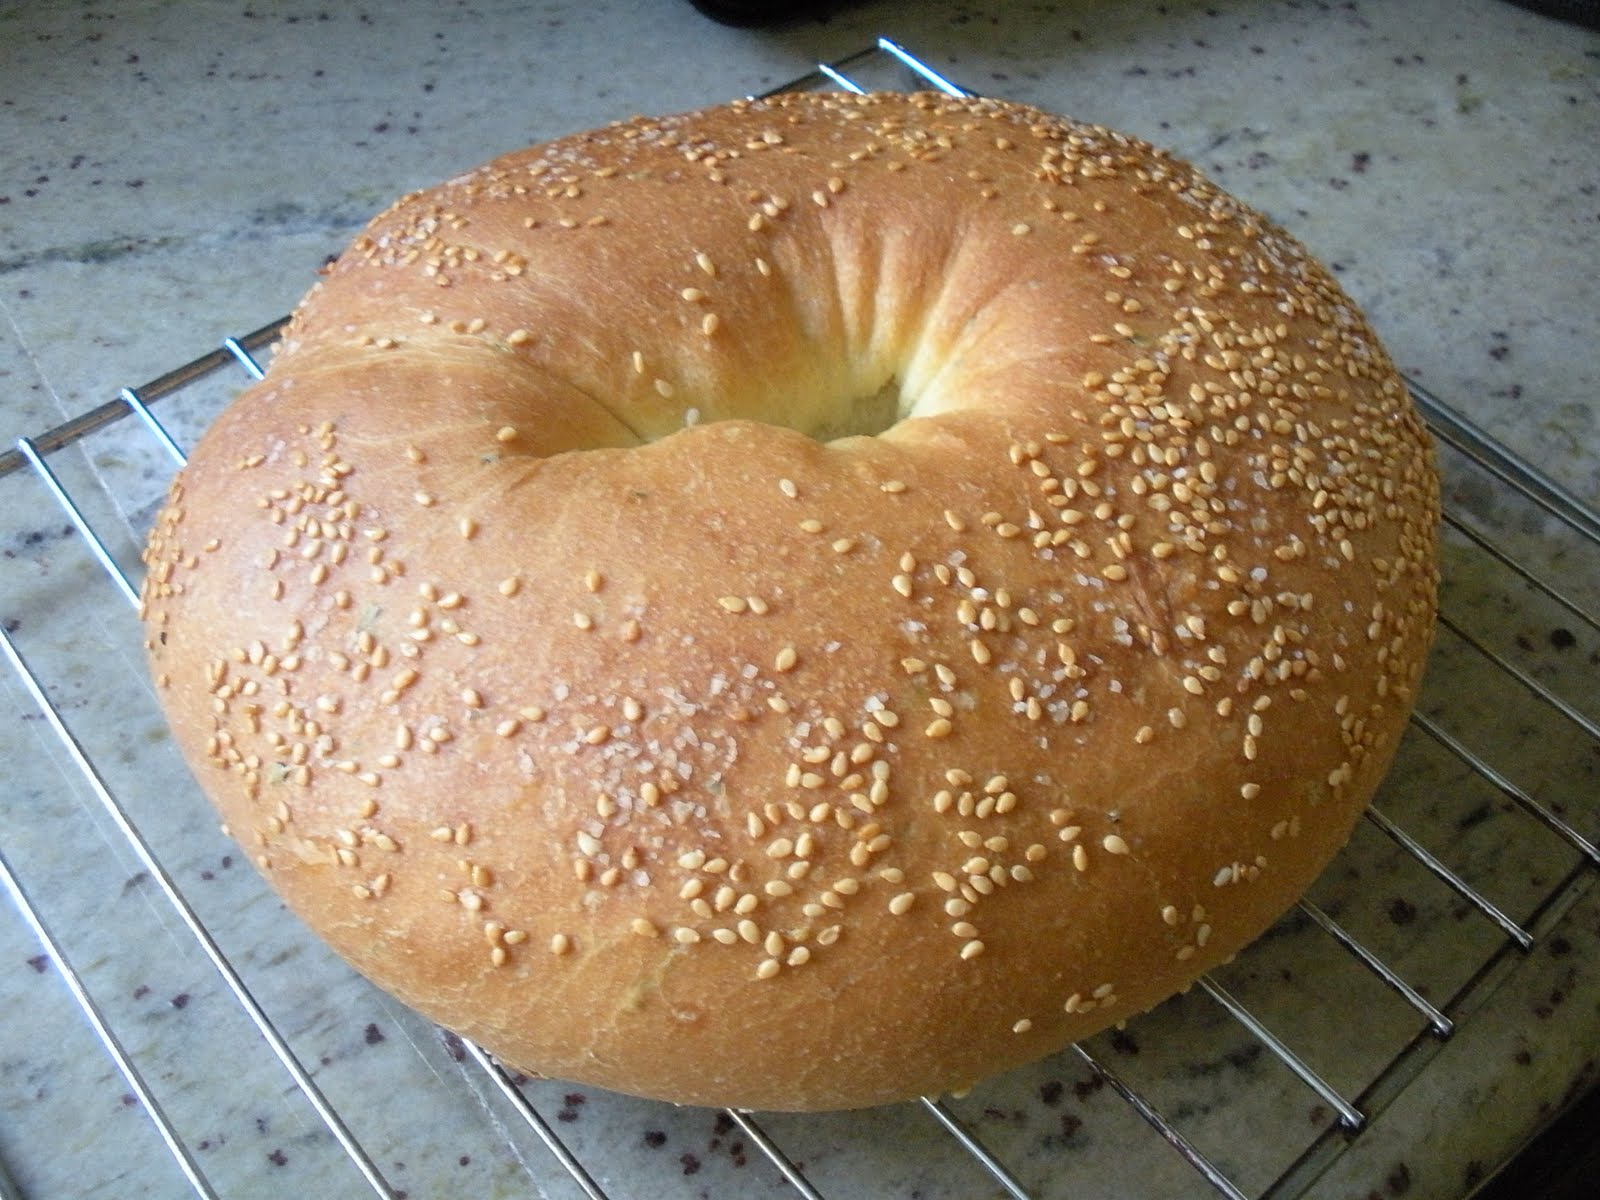
The next loaf - Rosemary Semolina - is a recipe I stored in my file years and years ago, but have never had the right flour. Right before we went to Italy, I had bought some semolina flour to "get in the mood" so I had it ready. My rosemary plant in my herb garden is growing out of control and this was an excellent way to trim it back a piece. These loaves are beautiful, and the bread itself is soft and tender with a dense crumb and a crunchy crust. It also makes excellent toast, but my favorite is to wrap it tightly in foil to warm it in the oven, and then serve with olive oil.

The final bread I want to share here was absolutely inspired by our travels: Rosemary Onion Focaccia. This recipe was one of the variations from Nick Malgieri's How to Bake book. Focaccia is really very easy, and comes together quite quickly.

1 cup water at 110 degrees
2 1/2 teaspoons active dry yeast
3 tablespoons olive oil
5 cups all-purpose flour
2 teaspoons salt
2 tablespoons chopped fresh rosemary
1 cup milk
1 teaspoon kosher salt
Topping:
1 large onion (or I used 6 cipollinis)
2 tablespoons olive oil
Dissolve yeast in warm water, about 5 minutes, then stir in oil. Blend flour, salt, and rosemary in large bowl. Stir in yeast and milk. I use the dough hook of my stand mixer, just until moistened, and then beat for one minute, but this dough is soft enough I think you can pretty easily do it all by hand.
Cover bowl with plastic and allow to rise until doubled, about 1 hour.
Meanwhile, make topping. Heat oil in saute pan over medium heat. Add onions, thinly sliced and cook until starting to carmelize, but not brown, about 12-15 minutes. Season with salt and cracked pepper.
Oil a 12x18 jelly roll pan, and pat risen dough evenly. Dimple the surface with your fingertip and spread onion topping over. Cover again and allow to rise until doubled.
Preheat oven to 450. Bake 20-25 minutes, until golden. Slide out of pan onto rack to cook.
Foccacia is best eaten the day it is baked, though this made enough that even after taking it to a party, we were still eating it 3 days later and it was delicious after reheating in the oven.
No comments:
Post a Comment