Sunday, January 11, 2015

Holiday Bundt


Finally, for Christmas Day, I was quite excited about the Holiday Manhattan Bundt cake recipe from Kathy Casey. Rum cake is one of the moistest cakes I know, and I've always loved it, so I really liked the idea of a holiday cake swimming in bourbon and studded with marachino cherry jewels. This was the biggest disappointment to serve, because it stuck in my very well-oiled pan, and in an attempt to cover the tears, I used extra glaze, but it was already a thick, gloppy, and not very well balanced glaze (just powdered sugar and bourbon, so it had that chaulkiness and over-sweetness.) I was literally embarrassed to take this to my party, and had it been anyone other than family, I probably would have started over. But the cake slices themselves, as you can see in the photo, were pretty much just what I had in mind, and I really did love the flavor of this cake. It was quite strong in the alcohol taste, yet still appropriately balanced, and festive. It was also a very nice texture, moist and dense without being gummy. I will probably make this again, and leave to cool in the pan longer than suggested, as well as use a different glaze.


Manhattan Holiday Bundt Cake

Honey Spice Beer Cake


Year after year, I struggle along with adoreable shaped pans, making hideous shaped cakes. These pans are made for a standard pound cake or cake-mix cake, but try anything with a little flair or pizazz, and I guarantee it will stick, to the pan, and make a ^&*(%$! mess on your wall where you throw the pan with the cake gummed inside. I'm amazed my husband hasn't stolen the pans under cover of night and secreted them to the dump, given how many times he's heard me swear "I will never make another cake in these again!" as I tear around the kitchen trying to salvage whatever I can for whatever event I'm doubtlessly on my way to.


Recently, I'd saved the recipe for what is called "Honey Spice Beer Cake" from the Booze Cakes cookbook as it appeared in The Washington Post. I love spice cake anyway, and it seemed a seasonally-appropriate selection for my girlfriend gathering. What better way to holiday-it-up than to bake it in a snowman pan!?!

The cake is sticky from the honey, and really should have been made - as the directions call for - in a 9x13" pan (or a half-recipe in an 8" square pan, because it makes a lot) lined with parchment. The cake itself is delightful, moist, with a carmelized crust and a sweetness that is mellowed by the spices. I figured I could cover the rips and tears in the snowman's head and arms with frosting, but the frosting called for by the recipe - while also delicious (and the place where the beer in the recipe really comes through with a surprising and addictive flavor) - is definitely more a glaze than a frosting, as you can see from the significant "melting" my snowman was experiencing around the edges. Let's just say Seattle isn't known for our white christmases. But I will definitely  make this again for a filling, satisfying, snack cake. I think it could work well in a straight-sided tube pan where the glaze drizzled over and some candied fruits would make an attractive serving.

Note: I was unable to find the beer referenced in the recipe, but look instead for a sweeter, spicier, weiss. I found a German weiss beer at Central Market which had tasting notes saying it had cinnamon and nutmeg tones (veering away from the varieties described as citrusy).

Sunday, January 19, 2014

Oatmeal Peanut Butter Cup Cookies

Adapted a recipe from this blog, based on the appearance of the texture of the cookies in the photo. They turned out very delicious and very attractive, but were very crunchy, which I love but which was unexpected based on their appearance. They baked into very even cookies with a creased and crackled top that looked like a soft molasses cookie. 

½ cup sugar
1/3 cup brown sugar
½ cup butter
1/4 cup peanut butter
½ tsp. vanilla
1 egg
1 tsp. baking soda

¼ tsp. salt
1 cup flour

1 cup oats
about 10 oz peanut butter cups (used Trader Joe's milk chocolate) - chopped. Maybe be easier to chop cups if they are frozen first.
 cup instant oats

Cream butter, sugars, peanut butter, vanilla, and egg until blended. Add the dry ingredients and mix well. Stir in the chopped peanut butter cups. Bake at 350° for 10-12 minutes. Cool for a minute on the cookie sheet before removing the cookies.


Wednesday, December 25, 2013

Candied Kumquat and Ricotta Tart

For years and years, I've saved a candied kumquat and gingerbread cake recipe to make at the holidays. I love the idea of it, and the festive, jewel-like sparkle of candied fruit. But gingerbread just always sounds too heavy or substantial to follow what always ends up being rich and elaborate holiday meals. So when I came across this recipe also using candied kumquats but instead atop a delicate tart with a light ricotta filling, (on a day I just happened to unrelatedly click through a Facebook link to a blog post about making your own ricotta in the microwave!) I knew I had a winner. 


I have read previously about making ricotta at home and how easy it is and how superior it tastes to store-bought versions, but I'd still felt intimidated. Nor am I enough of a ricotta fan to notice sub-par commercial cheese in the few applications I ever use it. But when I read this posting for making it in the microwave literally in minutes, I had to try it if for no other reason than novelty. 

The recipe says 2 cups of milk yeild about 1/2 cup of ricotta. I repeated the recipe twice (used 1 quart milk total) and ended up with slightly less than a cup of cheese, which was just the right amount for the tart filling. I strained through paper towels for maybe 10 minutes and after refrigerating 24 hours, the cheese was quite firm and hadn't separated any more liquid. It was a lot of fun to watch the curds and whey separate so quickly and easily after just a couple minutes zapping, and in spite of the ridiculous ease, I didn't mind bragging that not only was the tart homemade, but so was the ricotta.

I also made the tart crust the day in advance, pressed into the tart pan and refridgerated unbaked. Other reviewers on epicurious were not as enamored with the crust, but I found it to be exactly right with this tart. It didn't crumble when sliced, it held up well against the soft cheese, and it was a tender crunch of sweetness. I only used just over half of what the recipe called for, and found it plenty thick in the pan. More would have disrupted the balance between flavors.

Slicing and deseeding the kumquats was by far the most time-consuming task. But put on some good music and it only takes about 40 minutes. I thought I did a really good job but when the kumquats were candying, a number more seeds floated to the top which I removed, and when I assembled the final tart, I found a number more that I couldn't retrieve, but which did not impact the final taste or texture. So, be conscientious in your removal, but absolute vigilance is not necessary.

I completed all steps the day in advace and kept components chilled separately overnight. The afternoon of the dinner I baked the crust, and as it takes just minutes to spread the filling in and top with kumquats, it was easy to assemble after it had cooled and still have time before dinner. 

One reviewer suggested slicing the tart before topping with the kumquats to make it easier to create attractive servings. I didn't have much trouble cutting through the full slice, but that is a good recommendation. My family all asked for seconds and were really impressed with the play of flavors in this tart. Happy Holidays!


Friday, November 22, 2013

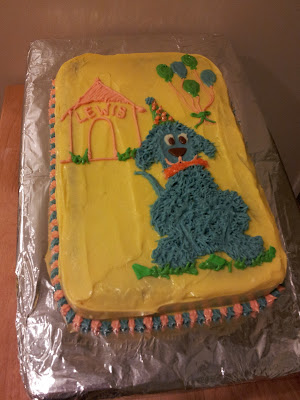
Fun Decorated Cakes: Seal and Dog

http://www.epicurious.com/recipes/food/views/Pear-Cake-with-Lemon-Honey-Cream-Cheese-Frosting-104048

Baked one recipe in a 9x13 pan.
Frosted with cream cheese frosting from Joy of Cooking (really only needed about 1 recipes worth, made 3 batches.)


Monday, September 9, 2013

Honey Spice Cake


SO good. So moist, with great carmelized texture on the crust and soft and spice interior. I would like to go back and try it with coffee next time, if it didn't overwhelm the spices. Ginger cakes are my favorite and the oil makes it so moist for days. I substituted nectarines for the plums because I couldn't find golden plums, and the thyme mixture was amazing.

Saturday, August 24, 2013

Mortarboard Cake

What have I been doing that I haven't posted in a month?? I've been graduating! I finished up my Master's degree in August, with all the wrap-up and transitions that go along with it. But in the end I had a fabulous party to celebrate with friends and family (a few very notable exceptions were sadly not in attendance) and I made these cakes to mark the occasion. The design was really easy (which I needed because it had to be large enough to serve 60 people!) but super adorable and festive.

I used the browned-butter cake layers that I made for Will's birthday, and quadrupled the recipe. I browned all the butter (3 pounds) at once, but it still took over 45 minutes to brown the butter on medium low. And that was the only step I could combine; I had to make each recipe separately (ie: the same thing 4 times) otherwise my mixer would overflow.

One-and-one-half times of an 8 or 9" cake recipe will make 10" layers, but I baked each batch in my 2 10-in pans for 32 minutes each. This made thinner layers, which worked just as well for this application.

My party was on Saturday and I prepared the cakes on Wednesday, then froze the layers that evening.

These were a lot of cake layers!


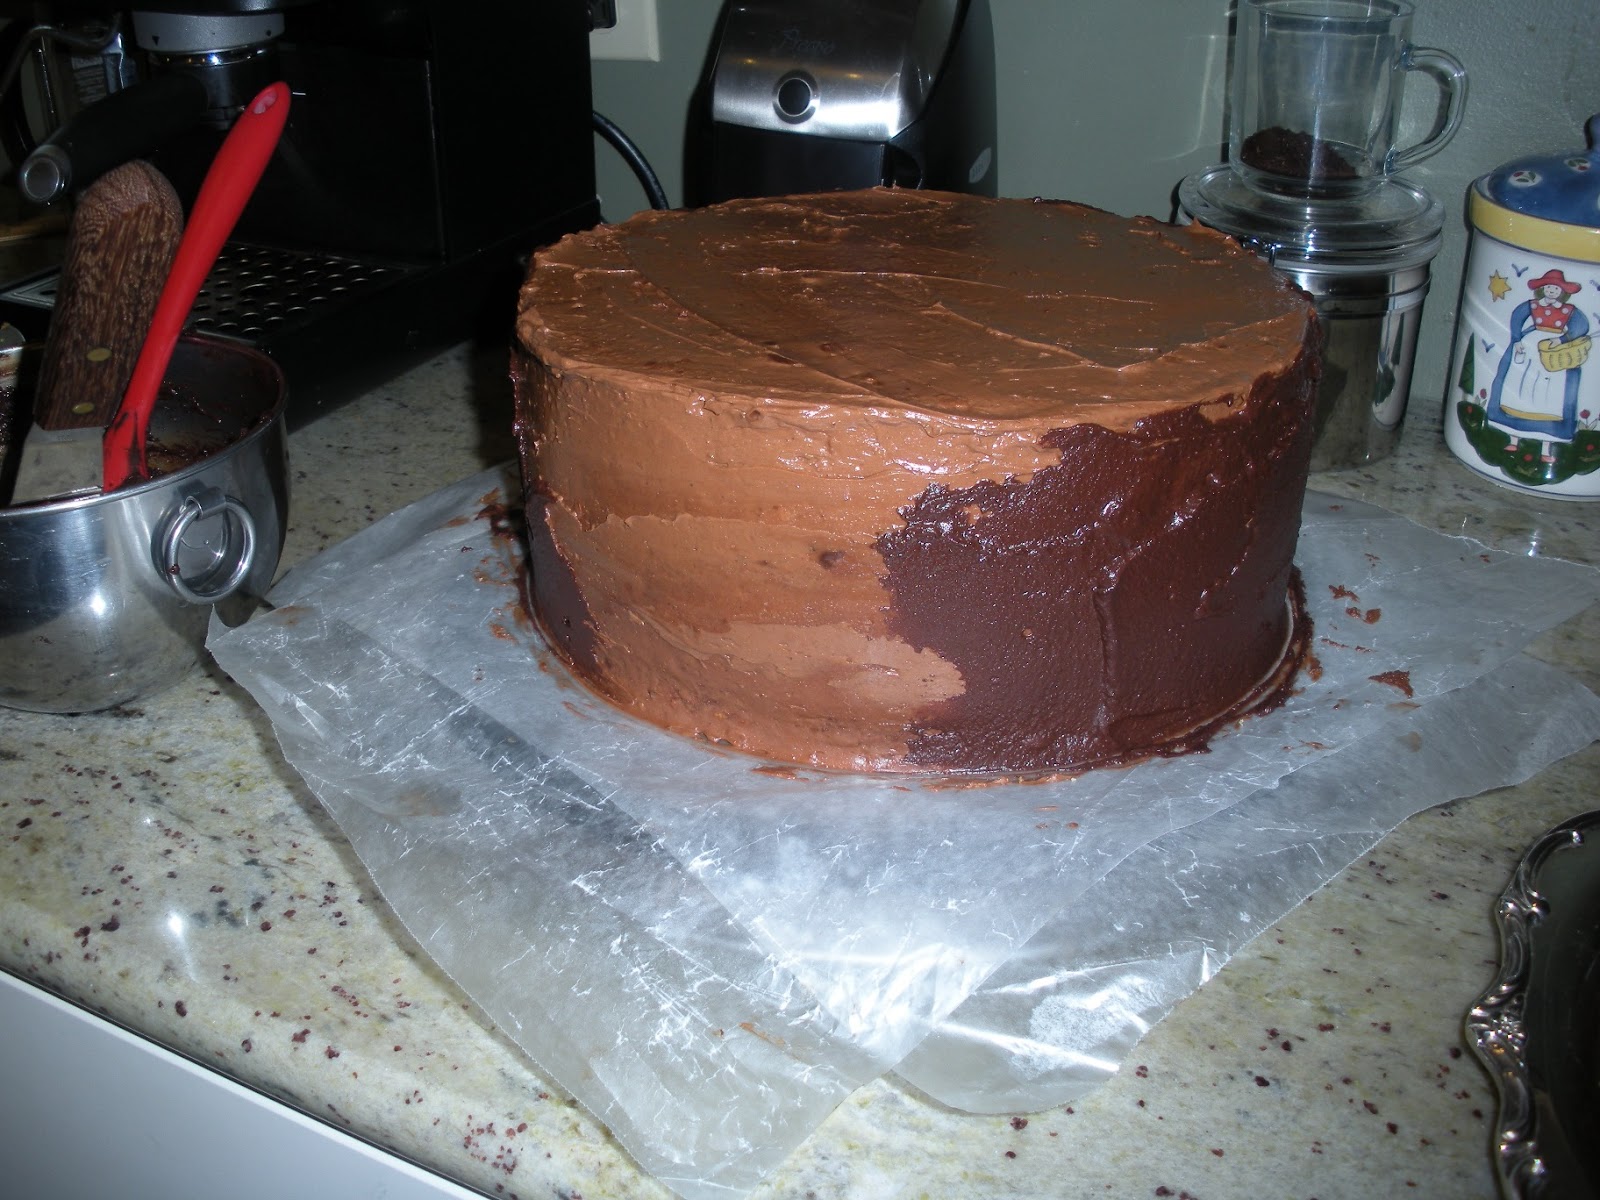
Then I frosted with a double batch of milk chocolate buttercream.
Refrigerated chocolate cookie dough rolled out into a sheet and baked on
parchment makes an easy mortarboard for my graduation cap cake.


Two three-layer 10" round cakes.

Ganache goes on over the buttercream.
Glazed with bittersweet

The mortarboard cookie needed some structural support to keep from sagging;
I constructed a platform from thin tagboard.
And decorated with a package of chocolate cookie dough, rolled flat and trimmed to a square. A dollop of ganache held the tassel in place, and gold sprinkles made the caps particularly festive.  

The finished cakes, and the relieved graduate.

To make two 10" cakes each with four layers, I mixed the recipe below four times, and divided each between two 10" cake pans for slightly thin layers.

Browned Butter Cake Layers
by Tom Douglas as found in Food and Wine magazine

3 sticks unsalted butter (12 ounces), plus more for greasing the pans

2 1/4 cups all-purpose flour, plus more for dusting
2 1/4 teaspoons baking powder
1 teaspoon salt
1 2/3 cups sugar
1 vanilla bean, split and seeds scraped (I used 1 tsp clear vanilla instead)
3 large egg yolks
2 large eggs
1 1/4 cups milk, at room temperature

Preheat the oven to 325°. Butter two 9-inch cake pans and line the bottoms of the pans with parchment paper. Butter the paper and dust the pans with flour, tapping out the excess.
In a medium saucepan, melt the 3 sticks of butter. Cook over low heat, stirring occasionally, until foamy, about 5 minutes. Continue to cook, stirring frequently, until the milk solids turn brown and the butter smells nutty, about 4 minutes longer. (Note, it took closer to 20 minutes for me.) Scrape the melted butter and browned bits into a large heatproof bowl. Set the bowl in an ice water bath until the butter begins to set around the edge, about 8 minutes.

Meanwhile, in a medium bowl, whisk the 2  1/4 cups of all-purpose flour with the baking powder and salt.

Remove the bowl from the ice water and scrape up the hardened butter. Transfer the butter to the bowl of a standing electric mixer fitted with the paddle and beat until creamy. Add the sugar and vanilla seeds and beat at medium-high speed until fluffy, about 3 minutes. Beat in the egg yolks followed by the whole eggs. Beat in the dry ingredients and milk in 3 alternating additions, scraping down the side and bottom of the bowl as necessary.

Pour the cake batter into the prepared pans and bake in the center of the oven for about 40 minutes, rotating the pans halfway through baking, until the cakes are golden and a toothpick inserted in the centers comes out clean. Cool the cakes in the pans for 20 minutes, then invert them onto a rack to let them cool completely. Peel off the parchment paper.


Chocolate ButtercreamFrom The Cake Bible2 pounds milk chocolate
1 pound bittersweet chocolate (I use Lindt 70%)
24 ounces unsalted butter, softened


Melt chocolate, then stir until smooth and room temperature. Beat butter until smooth. Beat chocolate into butter until smooth.

Bittersweet Ganache Glaze
9 ounces bittersweet chocolate (I used Lindt 85%)
1 cup heavy or whipping cream
1 tablespoon dark rum

Chop chocolate. Heat cream to simmer, and pour over chopped chocolate. Allow to rest a few minutes, then stir until smooth. Stir in liqueur. Allow to cool slightly, then pour over cake spreading till smooth but don't try to work it too much or it will streak and clump.